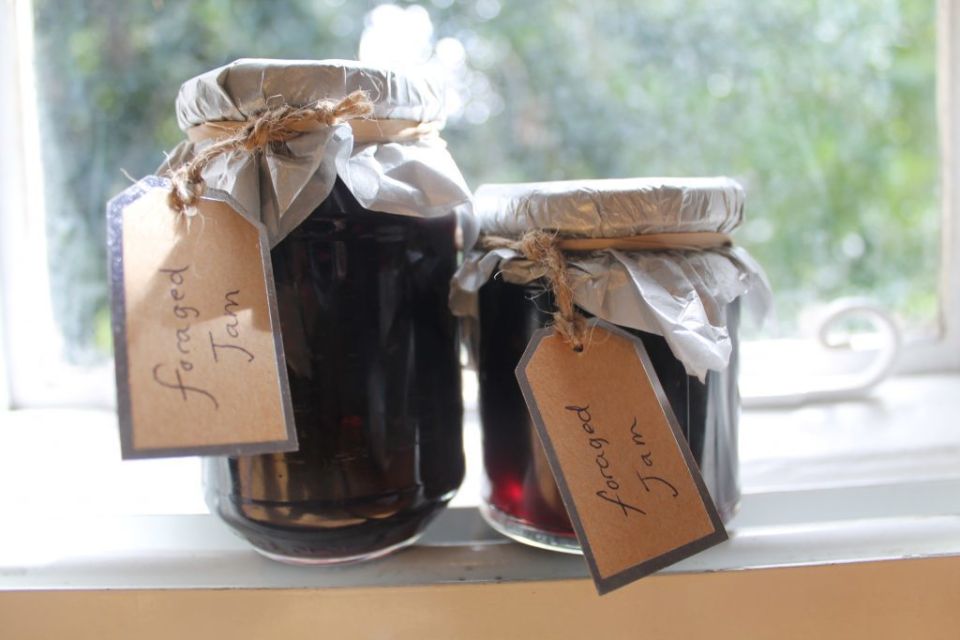
Urban Blackberry Jam recipe
Our cities are currently littered with free, foragable goodies, from berries and apples to almonds and hazelnuts. The blackberry season has just come to an end, if you’ve been partaking in some foraging this Urban Food Fortnight then we have the perfect recipe for using up leftover blackberries.
If you haven’t been urban foraging yet then check out our blog on how to get started.
What you’ll need
- Blackberries – around 400-450g
- Preserving sugar – 325g (If you don’t have preserving sugar, granulated is preferable to caster sugar)
- Juice of 1 lemon
- Knob of butter
- 2 glass jars (you can reuse old, empty ones)
- Making the jam
1. If you’ve foraged your blackberries you will want to give them a thorough wash, soaking them in some salt water for a couple of hours is a good way to do this. Rinse them well in clean water after.
2. Next you need to sterilize your jars and their lids. Make sure they are clean and then you can either warm them in an oven (above 100 deggrees C) or you can pour a kettles of boiling water over them on the draining board. This step is vital in order to stop mold growing in your jam.
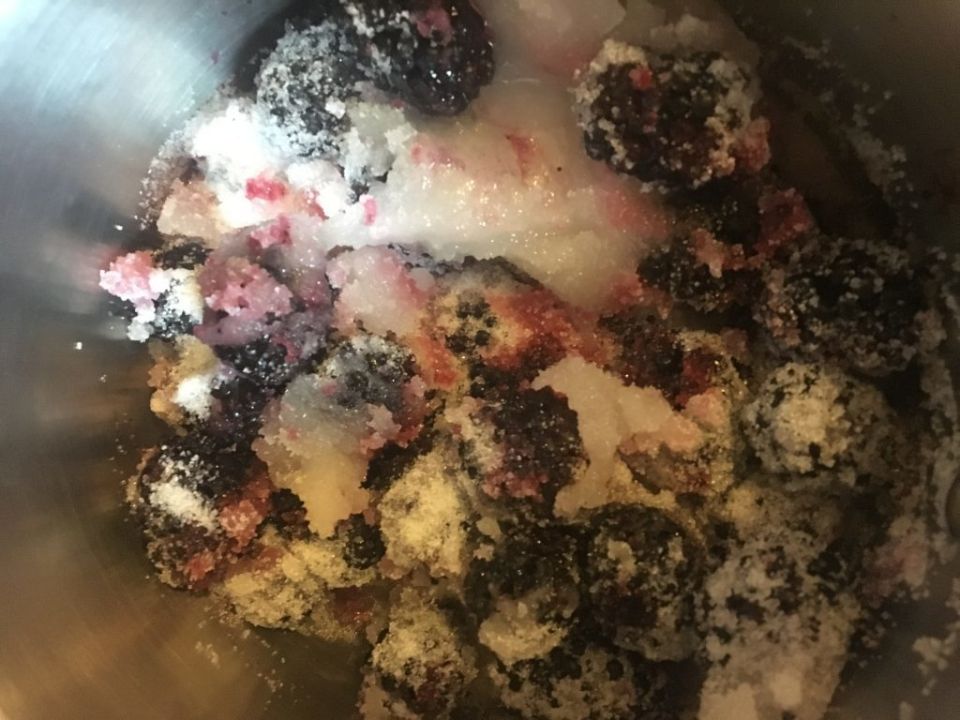
3. Tip all of your blackberries, sugar and lemon juice into a large saucepan and place on the hob on a low heat. As the fruit and sugar heats gentle, stir it occasionally until the sugar dissolves.
4. Turn the heat up and bring your fruit to a gentle boil, again stirring occasionally and simmer for 10-12 minutes. It’s important that the jam is bubbling gently.
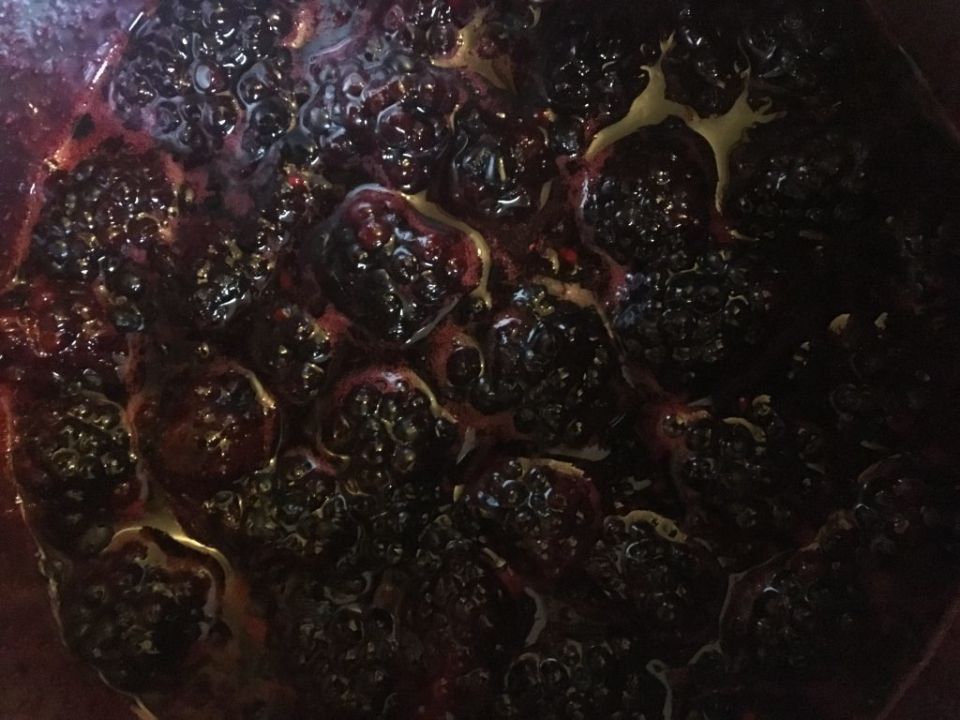
5. Once you have done this, add your butter into the pan. This helps to breakdown any froth which has developed on the top. Then take your saucepan off the heat and spoon off any froth which is left.

6. Test your jam to see if it is done. Simply place a spoon that’s been dipped in the jam for a few minutes until it cools. If the jam wrinkles on the spoon when you push it with your finger, then you know it’s ready. If it doesn’t put it back on the heat and boil again for a few minutes and keep repeating this test until it is done.
7. You can now place your jam into your sterilized jars. The easiest way to do this is by pouring it in with a funnel or a pan/jug that has a pouring lip on it (remember, if you use a funnel or jug you will also need to sterilize this also). Leave your jam to cool slightly once it is in the jars, before putting the lids on. It can then be eaten the following day.
Donate to Trees for Cities and together we can help cities grow into greener, cleaner and healthier places for people to live and work worldwide.
Donate